Chrome Extensions: Taking Screenshots with Javascript/jQuery, HTML5, Canvas
Capturing previews of a webpage or its DOM elements
Published on 16 January 2013This post describes how to create a completely accurate image preview of a DOM element on the page by using Javascript in a Chrome extension. I stumbled upon this issue while working on a web implementation of click-and-cross (Findlater et al.) for research. This process consists of two subproblems.
- How can we take a screenshot of the current page using Javascript?
- Given the screenshot of part of the page, how can we crop out our element from the screenshot?
If you’re only interested in the code and not the explanation of the problem, click here.
Overview
The screenshot problem: imperfect solutions
Given only plain Javascript and a DOM, outside of the context of a Chrome extension it’s not possible to take a completely accurate screenshot of the page. This is explained in a Stack Overflow question.
The top answer offers a solution that uses a script called html2canvas. Another potential solution is Magnifying Glass, which works by duplicating the HTML content of the body and re-rendering it in a “magnifying glass” (demo). However, Magnifying Glass will conflict with any HTML-embedded Javascript, and html2canvas produces an imperfect replication of the page.
The solution in this post is dependent on the fact that the Chrome extension API provides a function, chrome.tabs.captureVisibleTab() (docs), for taking a screenshot of the visible part of a tab.
Picking out the element from the screenshot
Since the captureVisibleTab() function only gives us a portion of the screen, we can’t simply use the offset (top, left) of the rendered element.
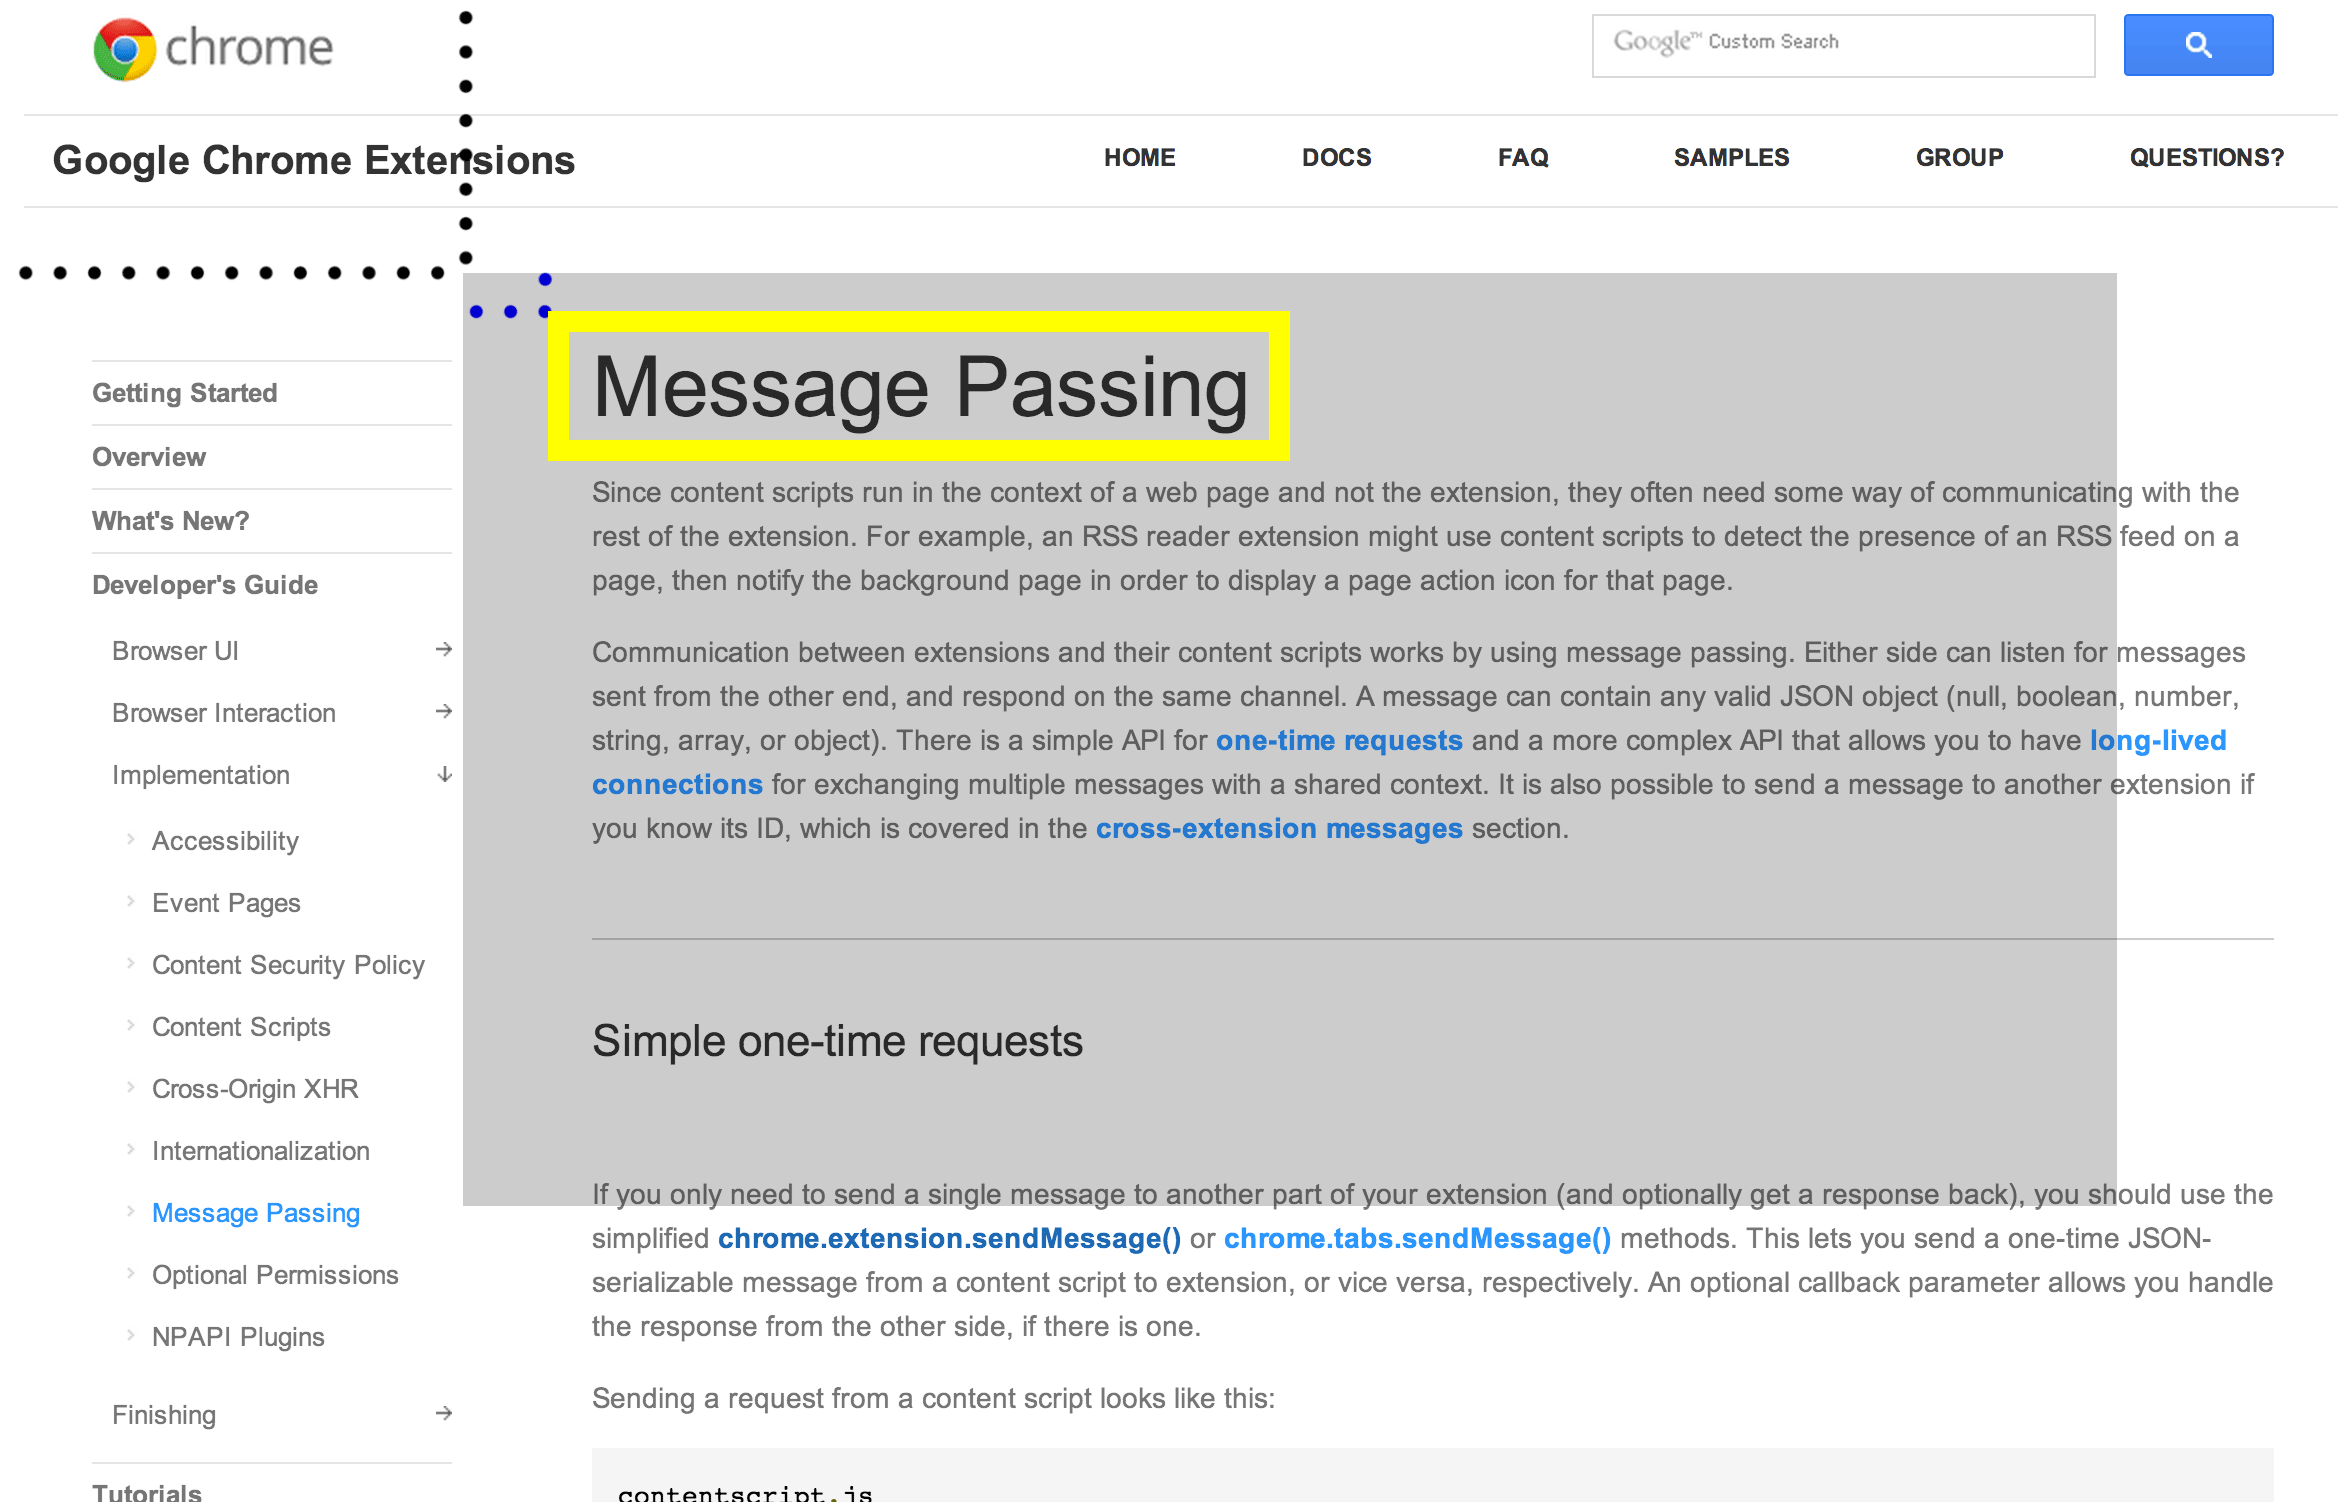
For example, in the figure below, let the shaded part of the screen be the part of the screen that we capture, and the Message Passing header, boxed in yellow, be the element that we want to capture. Given the position of the screenshot relative to the origin of the window (the black dots), we’ll compute the position of our element relative to the origin of the screenshot (the blue dots), then crop out that region.
Code
Chrome extensions have two distinct parts involving Javascript: the extension (runs in the background) and the content scripts (runs on a certain page and can access the DOM). Content scripts cannot access most of the Chrome extension API (such as captureVisibleTab()), but extensions and content scripts can communicate indirectly through message passing.
Make sure that these permissions are included in your manifest.json, and add the functions to one of your content scripts.
"permissions": ["tabs", "<all_urls>"],
"background": {
    "scripts": ["background.js"]
},background.js:
chrome.extension.onMessage.addListener(function(request, sender, sendResponse) {
    if (request.name == 'screenshot') {
        chrome.tabs.captureVisibleTab(null, null, function(dataUrl) {
            sendResponse({ screenshotUrl: dataUrl });
        });
    }
    return true;
});
screenshot.js (content script):
/* Takes a screenshot and uses it in a callback as a canvas */
takeScreenshot: function(callback) {
    chrome.extension.sendMessage({name: 'screenshot'}, function(response) {
        var data = response.screenshotUrl;
        var canvas = document.createElement('canvas');
        var img = new Image();
        img.onload = function() {
            canvas.width = $(window).width();
            canvas.height = $(window).height()
            canvas.getContext("2d").drawImage(img, 0, 0, canvas.width, canvas.height);

            var $canvas = $(canvas);
            $canvas.data('scrollLeft', $(document.body).scrollLeft());
            $canvas.data('scrollTop', $(document.body).scrollTop());

            // Perform callback after image loads
            callback($canvas);
        }
        img.src = data;
    });
}
/* Returns a canvas containing a screenshot of $element */
renderPreview: function($element, $screenshotCanvas) {
var previewCanvas = document.createElement('canvas');
previewCanvas.width = $element.width();
previewCanvas.height = $element.height();
// Calculate the correct position of the element on the canvas
var prevTop = $element.offset().top - $screenshotCanvas.data('scrollTop');
var prevLeft = $element.offset().left - $screenshotCanvas.data('scrollLeft');
var ctx = previewCanvas.getContext("2d");
ctx.drawImage($screenshotCanvas[0], prevLeft, prevTop,
$element.width(), $element.height(),
0, 0,
$element.width(), $element.height());
return $(previewCanvas)
.css({ border:'1px solid black' });
}We do three things:
- Use the extension to capture a screenshot of the open tab, receiving a
data://URL to the image and sending it to the content script. - In the content script, scale down the screenshot by drawing it to a canvas. The original image may be higher resolution than the actual window, so it needs to be scaled.
- Crop out the portion of the screenshot canvas that we need onto another canvas, now containing our element.
We add a listener in the background script of the extension. When a screenshot is requested, it will take a screenshot and send back the data:// URL.
Our content script will take two functions. One takes a screenshot of the page, and it accepts a callback argument after the screenshot has finished. When the screenshot is taken, we encode the current position of the window using jQuery’s scrollLeft() and scrollTop().
Our second function takes a jQuery element and returns a jQuery object referring to a canvas with the preview of that element. It computes the position of the element on the canvas. We use the version of drawImage() (docs) with the most parameters.
If this helped, feel free to leave and comment and let me know.
Finished product
It’s up to you what you want to use the screenshots of the elements for, but here’s an example of what the screenshots would look like in click-and-cross:
-
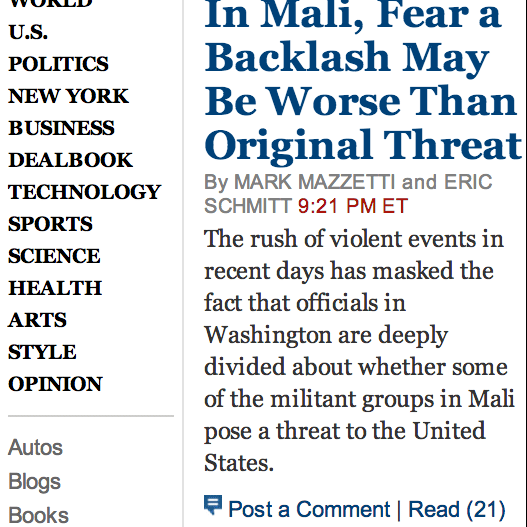 A page with multiple links
 -
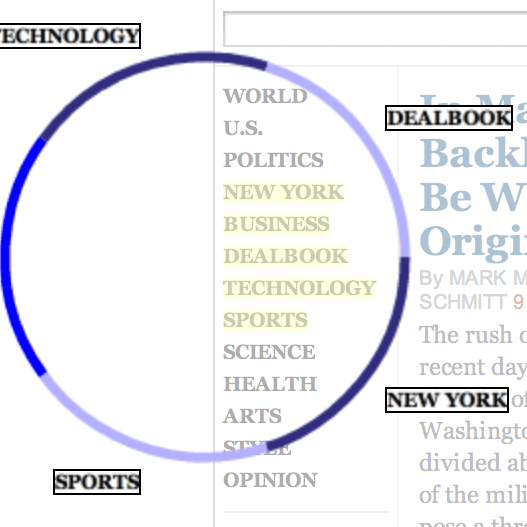 Previews of nearby elements